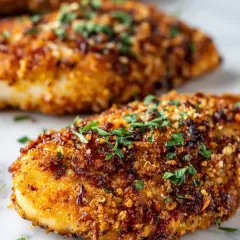

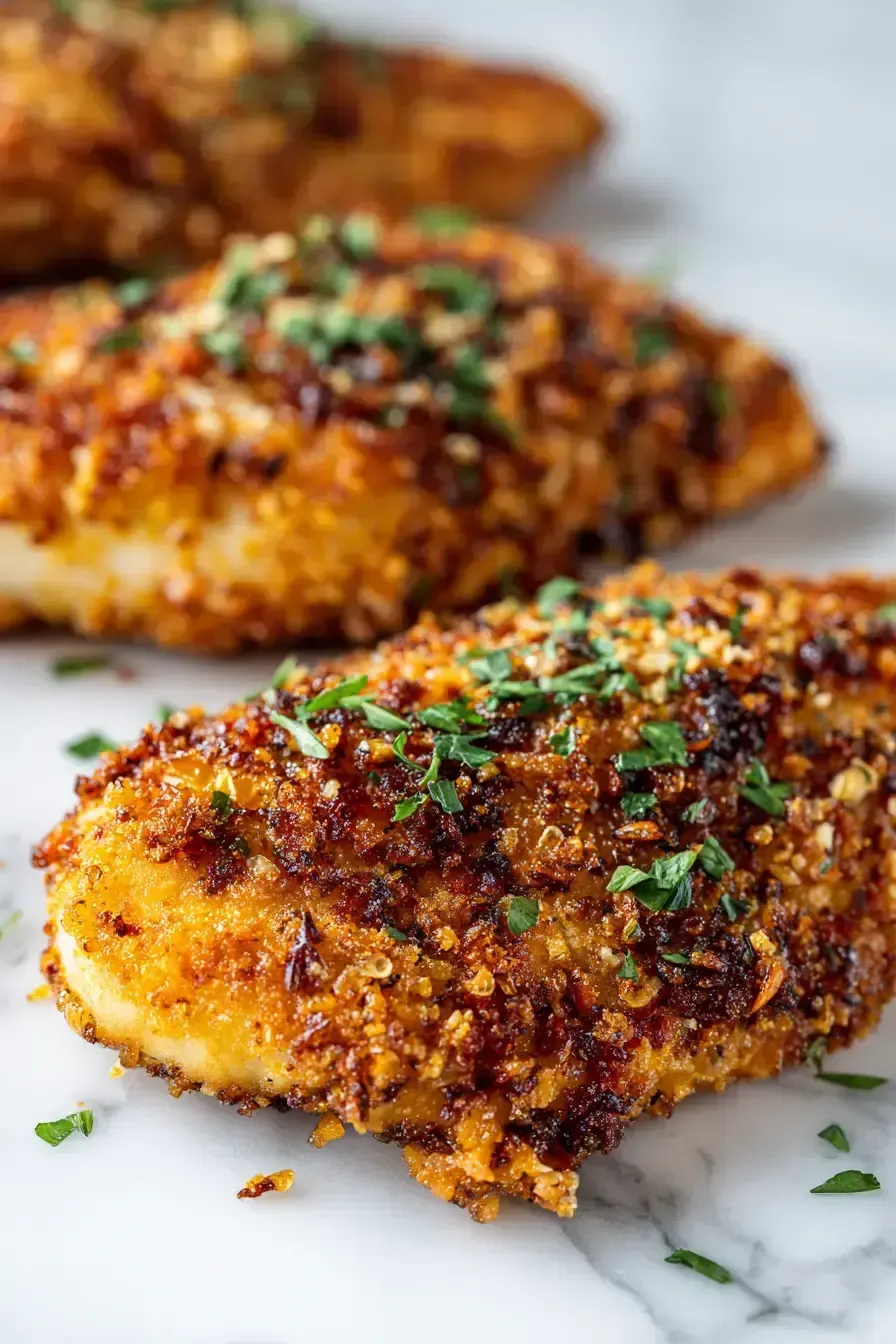
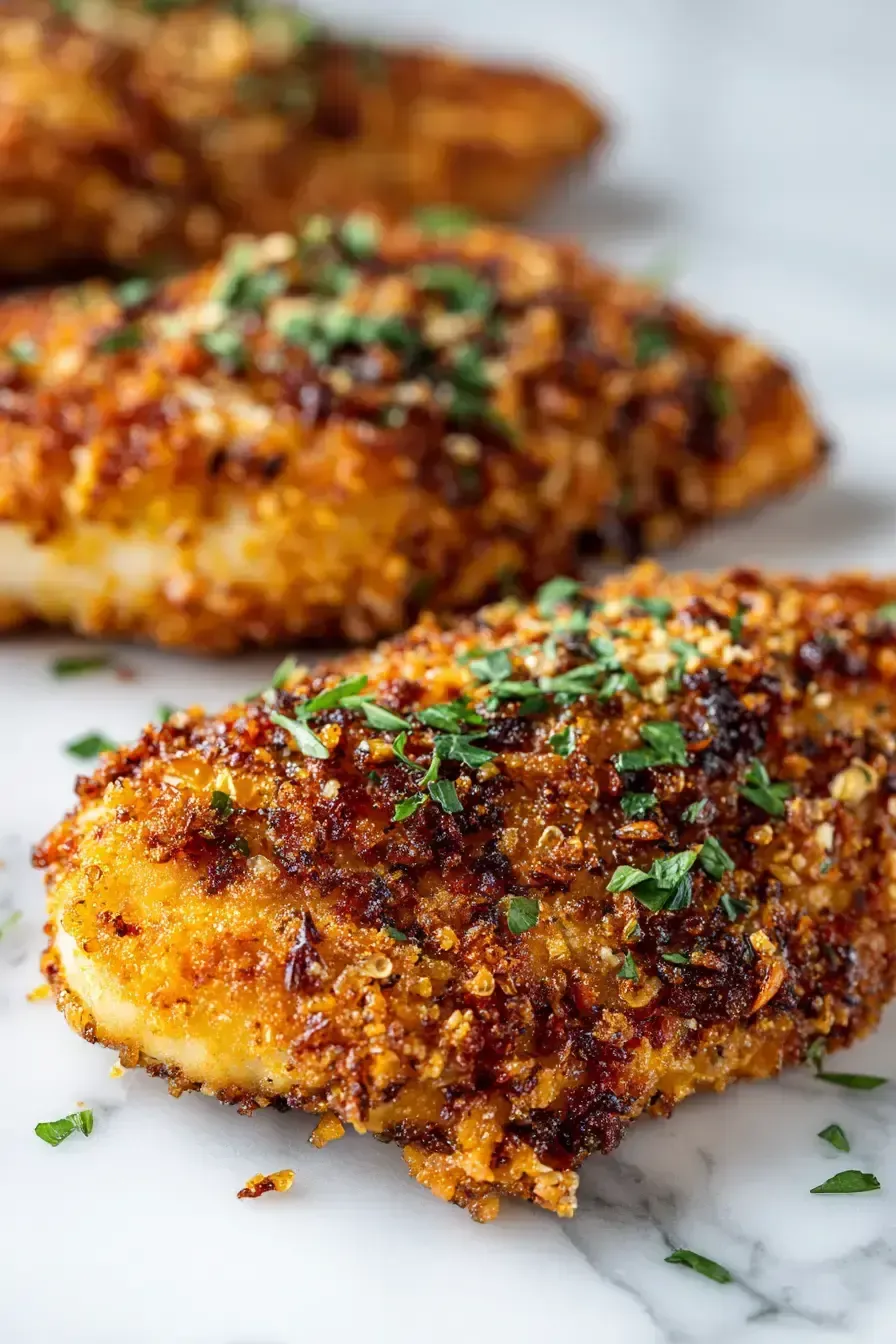
Crispy Garlic Chicken delivers restaurant-quality crunch with minimal effort, making it perfect for busy weeknights when you want impressive flavor without complicated steps. I’ve tested every shortcut to find the methods that actually work while preserving that golden, garlicky perfection you crave. This recipe balances efficiency with quality, giving you a foolproof path to crispy success.
Why This Shortcut Works ✓
- Time-Respecting Method – My tested panko breadcrumb coating method cuts cooking time while maximizing crunch.
- Flavor That Delivers – The garlic Parmesan combination creates a savory crust that elevates simple chicken breasts.
- Meal-Prep Friendly – These baked chicken strips reheat beautifully for quick lunches throughout the week.
- Honest Efficiency – I’ve eliminated unnecessary steps that don’t contribute to the final texture or taste.
Navigation
- Your Time Investment for Crispy Garlic Chicken Perfection
- Thoughtful Tips for Special Diets
- Pro Tips for Crispy Garlic Chicken Success
- Nutrition and Health Benefits of Crispy Garlic Chicken
- Lighter Version of Crispy Garlic Chicken
- How to Serve Crispy Garlic Chicken for Maximum Impact
- Common Crispy Garlic Chicken Mistakes (So You Don’t Make Them)
- How to Store and Reheat Crispy Garlic Chicken
- More Garlic Lover Recipes You’ll Adore
- Frequently Asked Questions
What You’ll Need for Perfect Crispy Garlic Chicken
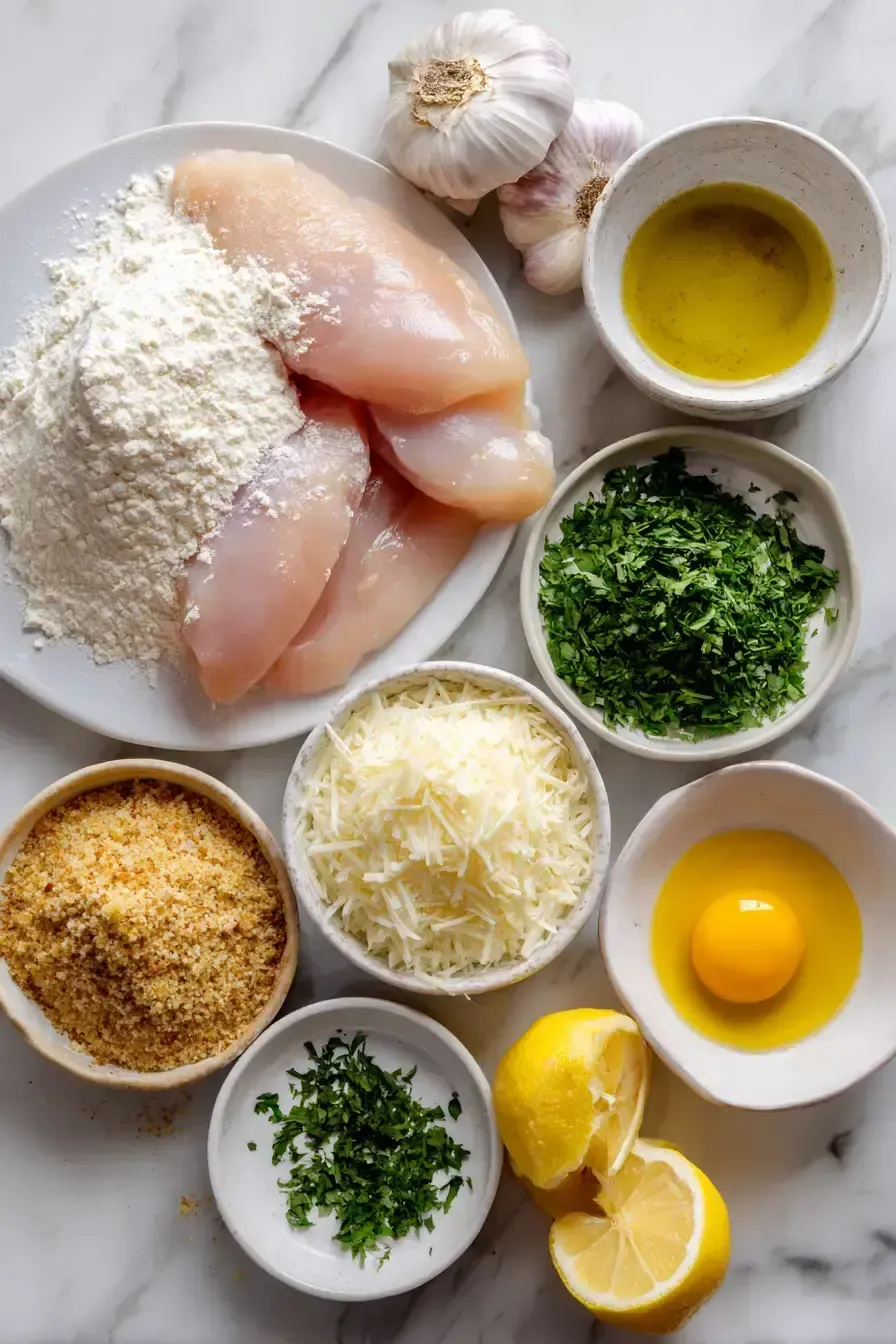
For the Chicken & Coating
- Boneless chicken breasts – The main protein for our crispy coating, sliced evenly for consistent cooking.
- All-purpose flour – Helps the breading stick perfectly without becoming gummy.
- Eggs – Creates the binding layer that ensures crunch adhesion.
- Panko breadcrumbs – Gives that extra crispy texture that regular breadcrumbs can’t match.
- Parmesan cheese – Adds savory umami flavor that complements the garlic perfectly.
- Fresh garlic – Provides aromatic garlicky goodness that powder simply can’t replicate.
- Olive oil – For pan-searing before baking to lock in juiciness.
Your Time Investment for Crispy Garlic Chicken Perfection
I know your time is precious, which is why I love that this recipe delivers maximum impact in just 40 minutes total. The 20-minute prep time flies by when you set up your breading station efficiently, and the 20-minute cook time includes both stovetop searing and oven finishing.
Compared to similar chicken casserole dishes that can take over an hour, this quick recipe fits perfectly into busy weeknights. The hands-on time is minimal once you get into a rhythm with the dredging process. This timing makes it ideal for family dinners where you want something special without spending all evening in the kitchen.
Thoughtful Tips for Special Diets
As someone who tests recipes for various dietary needs, I’ve found several smart adaptations for this dish. For sugar-conscious eating, the natural savory profile of this garlic Parmesan chicken works well since it contains no added sugars. The coating relies on the natural umami from cheese and garlic rather than sweeteners.
For lower carbohydrate options, you can substitute almond flour for the all-purpose flour in the initial dredging step. I’ve tested this swap and found it creates a slightly nuttier flavor while still providing that essential crispy texture. Portion control also helps manage glycemic impact while enjoying this satisfying baked chicken recipe.
Pro Tips for Crispy Garlic Chicken Success
After testing this recipe multiple times, I’ve discovered the little details that make a big difference in your final result. These honest shortcuts respect your time while ensuring quality isn’t compromised.
Flavor Swap: If you’re out of fresh garlic, I’ve tested using roasted garlic paste from a jar, and it works surprisingly well. The flavor becomes mellower but still delivers that essential garlic Parmesan chicken character. Just use about 50% more since the intensity is reduced.
Diet Tweak: For a gluten-free version, substitute gluten-free panko breadcrumbs and your favorite gluten-free flour blend. I found that buffalo chicken wraps benefit from similar adaptations when needed.
Texture Fix: The secret to extra crunch is pressing the panko mixture firmly onto each chicken strip. Don’t just sprinkle – really press those breadcrumbs into the egg wash to create a solid crust that won’t fall off during cooking.
Storage Tip: These sheet pan chicken strips reheat beautifully in an air fryer or toaster oven at 350°F for 5-7 minutes. The convection heat restores the crispness better than a microwave, which can make them soggy.
Nutrition and Health Benefits of Crispy Garlic Chicken
This recipe offers a balanced approach to comfort food, providing substantial protein while keeping unnecessary additives to a minimum. Each serving delivers approximately 35 grams of protein, which supports muscle maintenance and keeps you feeling satisfied longer.
The cooking method itself contributes to the health profile. By baking after a quick sear, we use less oil than traditional frying methods. The panko breadcrumb coating creates texture without heavy batter, making this a healthier alternative to many air fryer chicken recipes that rely on excessive oil for crispness.
Garlic contains allicin, a compound with potential health benefits, and when combined with the protein-packed chicken breast, this dish becomes a nutrient-dense option. For those monitoring sodium intake, you can reduce the salt in the flour mixture without affecting the final texture. I’ve found that rosemary garlic dishes often benefit from similar adjustments.
According to nutritional research, baking chicken instead of frying can reduce fat content by up to 50%, making this preparation method a smart choice for those seeking balanced meal options without sacrificing flavor.
Lighter Version of Crispy Garlic Chicken
If you’re looking to reduce calories or fat content, I’ve tested several effective tweaks. Using cooking spray instead of olive oil for the pan-searing step can cut significant calories while still achieving good browning. The key is to use a good non-stick pan and not skip the initial sear.
For even lighter baked chicken strips, you can increase the Parmesan cheese slightly and decrease the panko breadcrumbs. The cheese adds flavor with less volume, and I found the texture remains satisfying. This approach works well with roasted vegetable sides that complement the lighter protein.
How to Serve Crispy Garlic Chicken for Maximum Impact
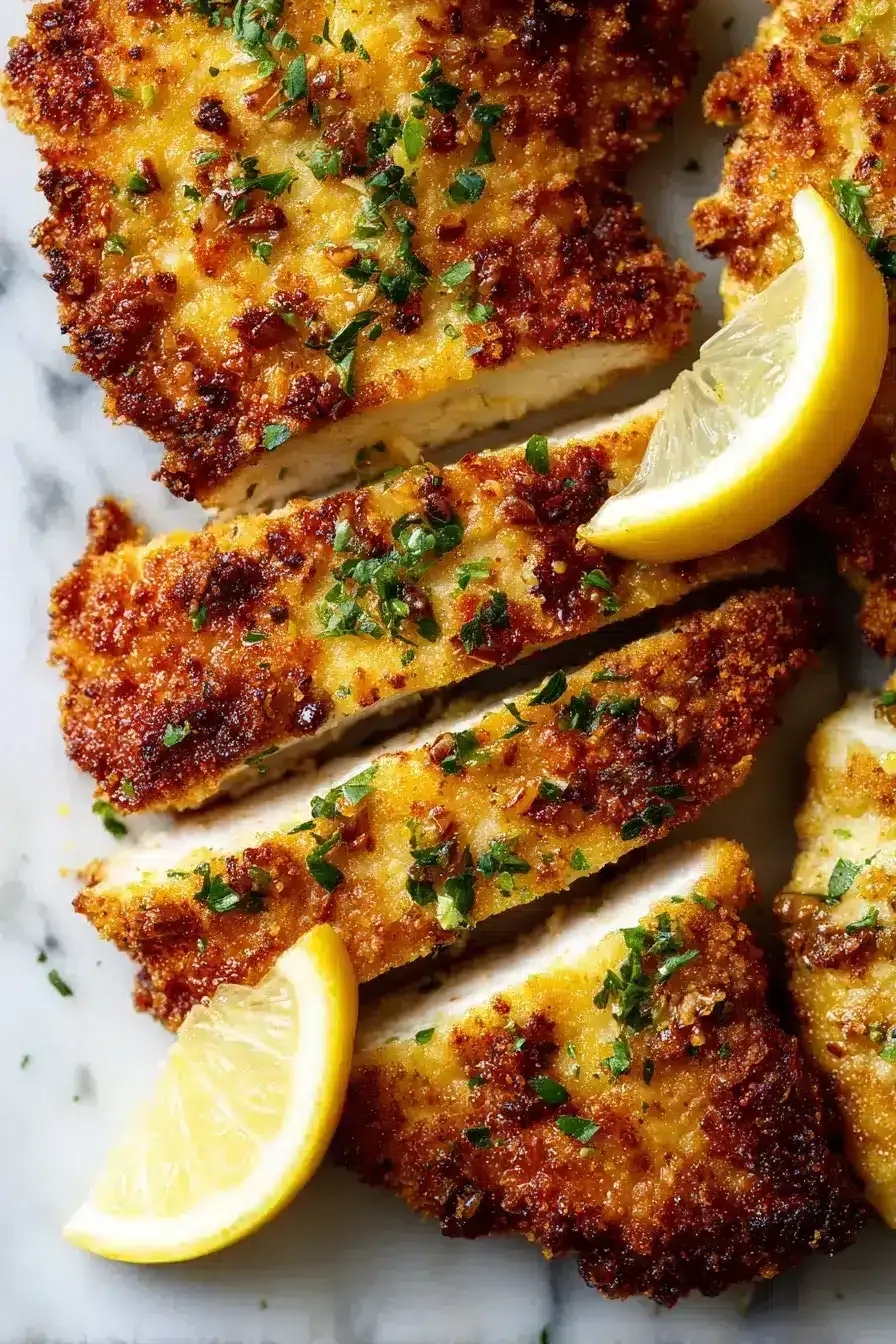
I love serving this dish family-style on a large platter with lemon wedges for squeezing over the top. The bright acidity cuts through the richness of the crispy coating beautifully. For sides, simple roasted vegetables or a fresh green salad complement the garlic Parmesan flavors without competing.
One of my favorite pairings is serving these chicken strips alongside garlic Parmesan smashed potatoes for a cohesive flavor theme. The textural contrast between the crispy chicken and creamy potatoes creates a satisfying meal experience. For a lighter option, try them with garlicky greens to double down on the savory notes.
Common Crispy Garlic Chicken Mistakes (So You Don’t Make Them)
After testing this recipe with countless home cooks, I’ve identified the most common pitfalls that prevent perfect results. Understanding these mistakes will save you time and ensure your chicken turns out crispy every time.
Rushing the Breading Process: The three-step coating (flour, egg, panko) needs patience. If you try to speed through it, the coating won’t adhere properly. Take time with each piece, and shake off excess flour before dipping in egg.
Overcrowding the Pan: When searing the chicken, give each piece space. Crowding creates steam instead of browning, resulting in soggy coating. I cook in batches even though it takes slightly longer – the crisp result is worth it.
Skipping the Oven Finish: The stovetop sear gives color, but the oven ensures even cooking without burning the coating. I learned this lesson testing garlic butter beef bites – some techniques transfer across proteins.
Not Patting Chicken Dry: Moisture is the enemy of crispness. Always pat chicken thoroughly with paper towels before starting the breading process. This simple step makes a dramatic difference in how well the coating sticks.
According to culinary experts, proper breading technique involves maintaining a dry-wet-dry sequence for optimal adhesion. I’ve found this method works consistently across various recipes.
I remember the first time I made this for friends, I made the overcrowding mistake and ended up with chewy instead of crispy chicken. Learning from that experience helped me perfect the method I’m sharing with you today.
How to Store and Reheat Crispy Garlic Chicken
This recipe holds up surprisingly well for meal prep, making it ideal for busy weeks. After cooling completely, store the chicken in an airtight container in the refrigerator for up to 4 days. The coating may soften slightly, but proper reheating restores much of the crispness.
For freezing, place cooled chicken strips on a parchment-lined baking sheet and freeze until solid before transferring to freezer bags. This prevents them from sticking together. Frozen Crispy Garlic Chicken maintains quality for up to 3 months. When reheating from frozen, add a few extra minutes to the oven time.
I often make a double batch specifically for quick weeknight meals later in the week. Having pre-cooked protein ready makes dinner decisions much easier on hectic days.
Why You Should Try This Crispy Garlic Chicken Recipe
This recipe represents the perfect balance I strive for in my kitchen – impressive results without complicated techniques. The combination of testing and honest evaluation has refined this method to deliver consistent, restaurant-quality chicken at home.
I particularly love how versatile this base recipe can be. Once you master the technique, you can adapt it to create honey garlic variations or even sweet and spicy versions. The panko breadcrumb coating provides the perfect canvas for various flavor profiles.
If you enjoy garlic-forward dishes, you might also appreciate crispy honey garlic tofu for meatless options or garlic dill pickles as a tangy side. The principles of balancing bold flavors with textural contrast apply across many recipes.
For those who love comforting soups, chicken soup variations make excellent use of similar flavor profiles. This Crispy Garlic Chicken has become a staple in my kitchen because it consistently delivers on both taste and efficiency.
More Garlic Lover Recipes You’ll Adore
If you can’t get enough of that savory garlic flavor, these recipes continue the theme with equally satisfying results. Each one has been tested for both flavor impact and time efficiency.
Garlicky Greens Pasta – Quick weeknight pasta with robust garlic flavor
Rosemary Garlic Roast Beef – Holiday-worthy main with aromatic herbs
Garlic Butter Beef Bites – Skillet dinner with rich butter sauce
Garlic Parmesan Smashed Potatoes – Crispy potato side with cheesy coating
Roasted Garlic Cabbage Steaks – Vegetable main with caramelized edges
Frequently Asked Questions
What makes panko breadcrumbs better for crispy chicken?
Panko breadcrumbs have a lighter, airier texture than traditional breadcrumbs, which creates a crisper coating that doesn’t become dense during cooking. Their irregular shape allows for more surface area to crisp up, making them ideal for Crispy Garlic Chicken where texture is crucial.
Can I make this recipe with chicken thighs instead?
Absolutely. Chicken thighs work well with this method, though they may require slightly longer cooking time due to their higher fat content. The rich flavor of thighs complements the garlic Parmesan coating beautifully, creating an even more indulgent version of this Crispy Garlic Chicken recipe.
How do I prevent the breading from falling off?
The key is ensuring each step adheres properly. Pat chicken dry first, dredge in flour and shake off excess, dip fully in egg, then press panko mixture firmly onto all sides. Letting the breaded chicken rest for 5 minutes before cooking also helps the coating set.
Can I bake the chicken instead of pan-searing and baking?
While you can bake entirely, the initial pan-sear creates superior browning and texture. If baking only, spray with oil and flip halfway through, but expect a slightly less crispy result than the combined method recommended for perfect Crispy Garlic Chicken.