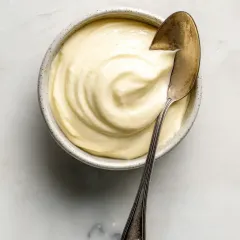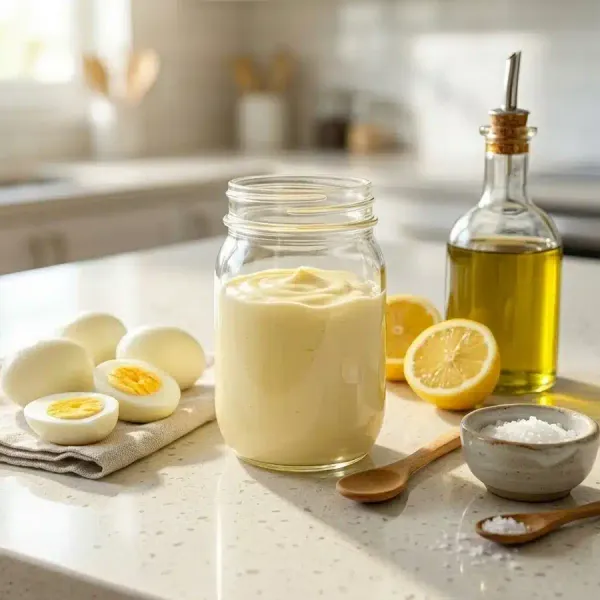

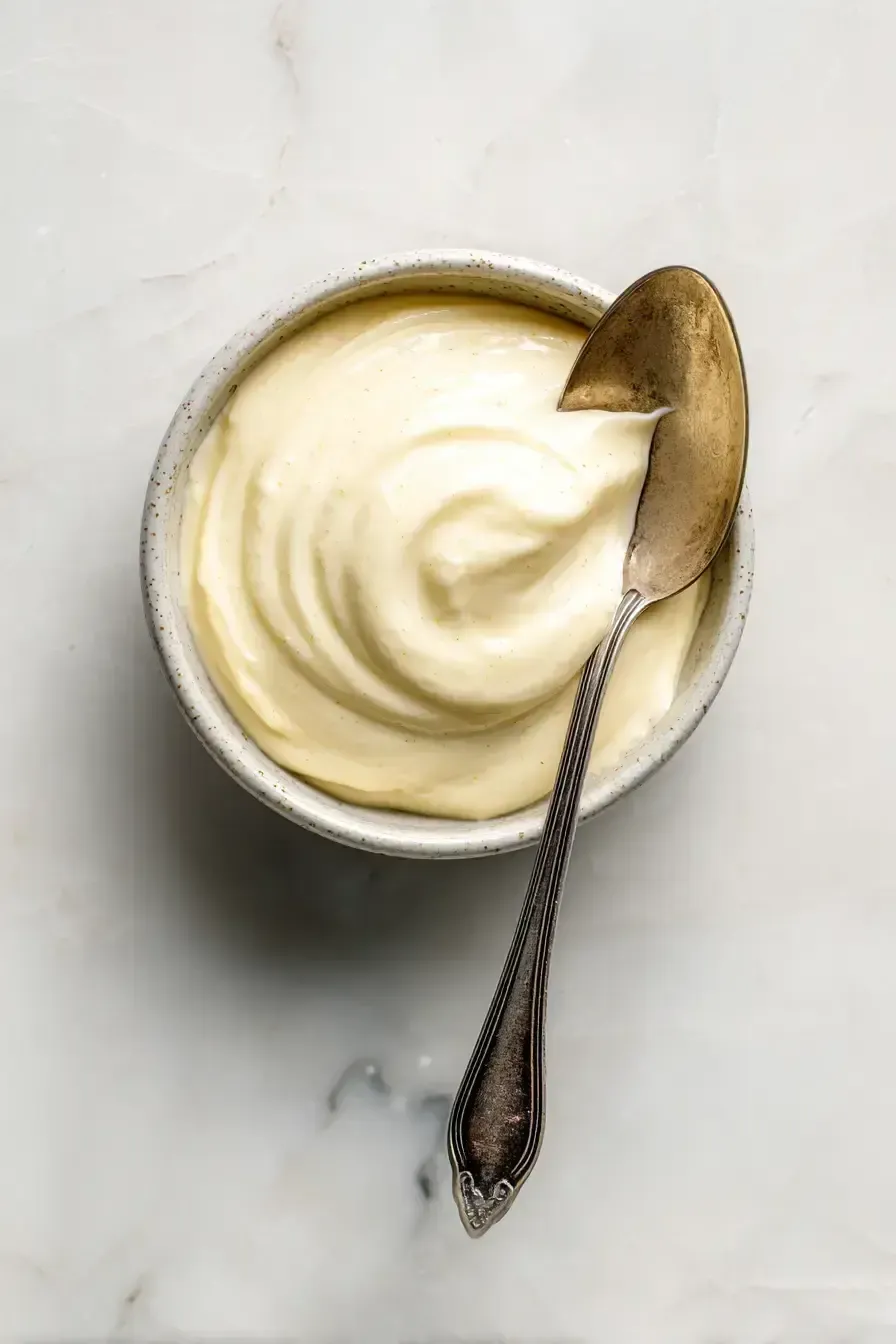
Making a rich and creamy Aioli Sauce is your secret weapon for elevating any meal, and this classic recipe proves you only need one bowl to achieve that perfect, garlicky emulsion. Forget about complicated techniques and a sink full of dishes. This guide walks you through a simple, one-pot method for a homemade aioli that’s packed with flavor, ready in minutes, and guaranteed to leave your kitchen clean. Let’s celebrate a sink victory with this minimal-cleanup champion.
One Bowl, Endless Flavor
- Minimal Cleanup Guaranteed – This entire creamy aioli sauce comes together in one bowl, meaning you’re only minutes away from a sparkling sink.
- Layering Logic Explained – I’ll show you the strategic order for adding ingredients to build a stable, perfect emulsion every single time.
- Quick Flavor Transformation – In just about 10 minutes of active time, you can turn simple staples into a gourmet Mediterranean aioli.
- Versatile Kitchen Staple – This traditional aioli is a dip, a spread, and a sauce, making it the ultimate efficient condiment for your week.
Navigation
- Your Aioli Sauce Timing Strategy
- Thoughtful Tips for Special Diets
- Pro Tips for Perfect Aioli Sauce Every Time
- Nutrition and Health Benefits
- A Lighter Version of Your Aioli Sauce
- How to Serve This Aioli Sauce for Maximum Impact
- Common Aioli Sauce Mistakes (So You Don’t Make Them)
- How to Store Your Homemade Aioli
- Frequently Asked Questions
What You’ll Need for Your Aioli Sauce
Gathering your ingredients is the first step to one-pot magic. Using room-temperature components is the secret to a smooth, stable emulsion. Here’s everything you need for this classic aioli sauce.
For the Aioli Base
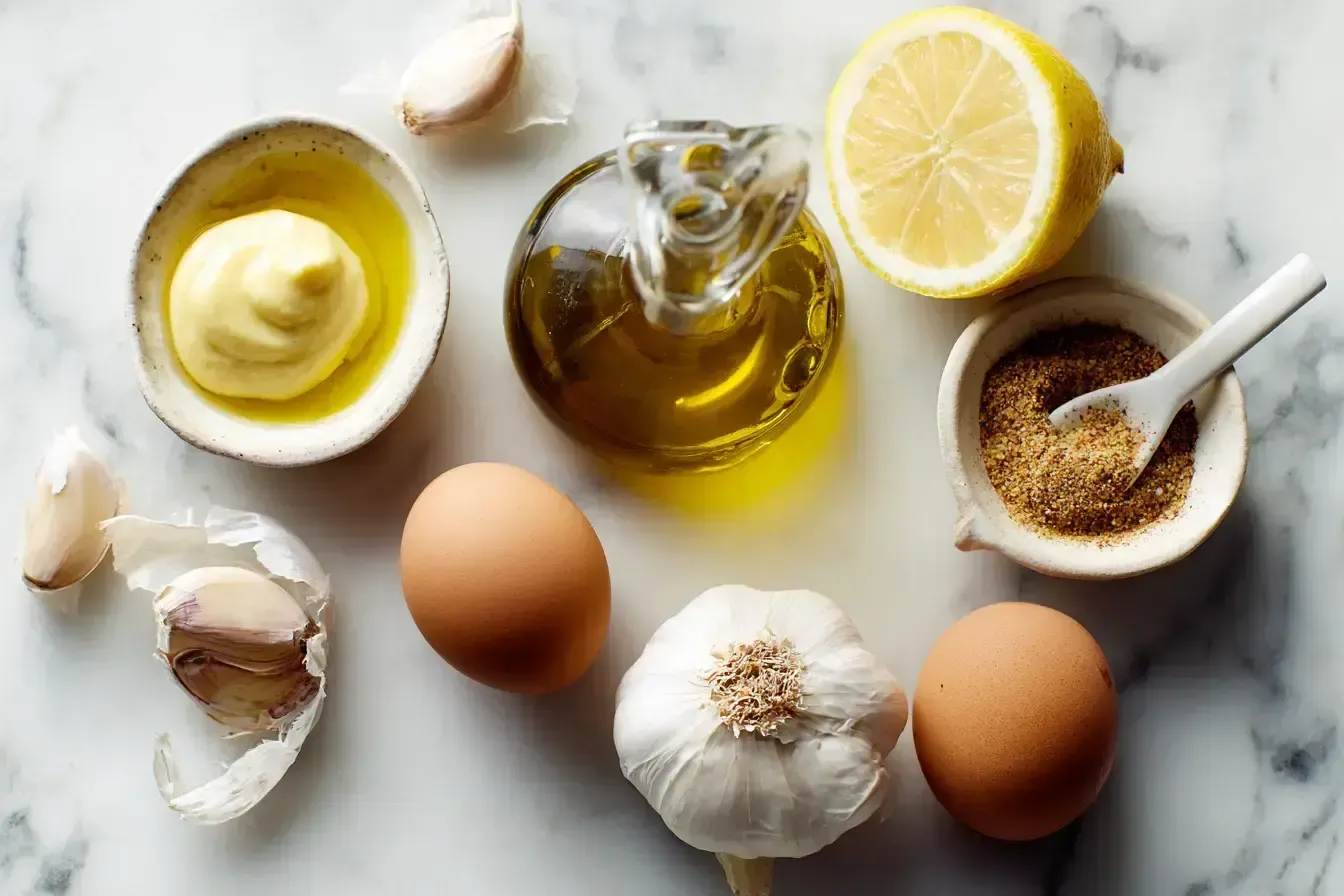
- 2 large egg yolks – Helps create that creamy emulsion base. Room temperature is key for easy blending.
- 2 cloves garlic – Provides that signature, robust garlic flavor. Mince them very finely for the best texture.
- 1 tablespoon fresh lemon juice – Adds bright acidity and freshness that balances the rich oil perfectly.
- 1 teaspoon Dijon mustard – Aids with emulsification and adds a subtle, complex depth to your homemade aioli.
- 1/4 teaspoon salt – Enhances all the flavors and is essential for seasoning your French aioli sauce.
- 1/4 teaspoon black pepper – Adds a mild, warm spice that complements the garlic beautifully.
- 1 cup olive oil – Creates the rich, luxurious texture. A good extra virgin oil makes all the difference.
Your Aioli Sauce Timing Strategy
Let’s talk timing, because a strategic approach is what makes this easy aioli sauce so rewarding. The active work is incredibly brief, leaving you with maximum flavor for minimal effort. Your total time is mostly hands-off chilling, which is a perfect opportunity to prepare the rest of your meal.
Your prep time is a swift 10 minutes. You’ll spend zero minutes cooking, as this is a no-cook emulsion. The total time is 40 minutes, which includes a crucial 30-minute rest in the fridge for the flavors to meld. This makes it an ideal last-minute sauce for weeknight dinners or a make-ahead star for weekend gatherings. Compared to store-bought versions, this quick aioli recipe gives you control and freshness in about the same time it takes to set the table.
For another condiment that transforms a meal with similar efficiency, check out my festive cranberry honey butter.
Thoughtful Tips for Special Diets
As your cleanup-conscious guide, I believe everyone should enjoy great flavor. This classic aioli sauce is naturally low in sugar and carbohydrates, making it a thoughtful choice for sugar-conscious diets. The primary consideration is the use of raw egg yolks. Here are a few practical tweaks to suit different needs.
For a completely egg-free version, you can start with a base of vegan mayonnaise and simply whisk in the garlic, lemon, and seasonings. If you’re monitoring sodium, you can reduce or omit the added salt, as the Dijon mustard and other ingredients provide plenty of flavor. Remember, portion control is always a smart strategy for enjoying rich condiments as part of a balanced plate.
Pro Tips for Perfect Aioli Sauce Every Time
Over the years, I’ve learned a few sink-saving secrets that guarantee aioli success. These tips are all about preventing a broken sauce and maximizing flavor with zero extra pans. Let’s layer it right from the start.
First, for a flavor swap, try using roasted garlic instead of raw. It creates a sweeter, more mellow garlic aioli recipe that’s incredible on sandwiches. If your aioli seems too thick, don’t panic. Simply whisk in a teaspoon of warm water to loosen it up beautifully. For the best texture, ensure all your ingredients are at room temperature before you begin whisking. Finally, for storage, always keep your homemade aioli in an airtight container in the fridge. It will stay fresh and creamy for up to 3 days. For a dish that pairs wonderfully with this sauce, try my garlicky chicken shawarma. And if you love global flavors, this aioli is a fantastic dip for Korean spicy chicken.
Nutrition and Health Benefits
While aioli is a celebratory condiment, it’s good to know what you’re enjoying. This traditional aioli sauce is a source of healthy fats, primarily from the olive oil. These monounsaturated fats are associated with heart health when consumed as part of a balanced diet. The garlic isn’t just for flavor. It contains beneficial compounds like allicin. Fresh lemon juice also provides a small amount of vitamin C.
Because this is a homemade version, you control the quality of ingredients, avoiding the preservatives and refined oils often found in store-bought varieties. It’s a richer, more wholesome choice. For a meal that incorporates wholesome fats and proteins in a complete bowl, explore my Mediterranean quinoa bowl. You can learn more about the health benefits of monounsaturated fats from authoritative sources like the American Heart Association. For another recipe featuring healthy, whole-food ingredients, try this healing golden lentil soup.
A Lighter Version of Your Aioli Sauce
Want to lighten things up without sacrificing creaminess? You have options. For a tangier, lower-fat version, you can replace half of the olive oil with plain Greek yogurt. Simply whisk the yogurt into the finished aioli until smooth. This creates a thicker, protein-packed spread that’s fantastic on veggie burgers. Another trick is to use a lighter, neutral-tasting oil like avocado oil for part of the olive oil. It maintains the emulsion while slightly reducing the intensity of flavor. For a meal that’s already packed with veggies and lean protein, this lighter aioli would be perfect drizzled over my high-protein veggie bake.
How to Serve This Aioli Sauce for Maximum Impact
This is where the fun begins and your minimal-cleanup work pays off. I love pulling a jar of this aioli from the fridge. It instantly makes a simple meal feel special. Think of it as your flavor booster, ready to transform the ordinary.
Use it as a decadent dip for crispy french fries, roasted potatoes, or a platter of fresh crudités. Slather it on sandwiches and burgers in place of mayo for a serious upgrade. It’s also the perfect accompaniment for grilled meats, seafood, or even as a base for a vibrant remoulade. The possibilities are truly endless, and all from one bowl.
For a fantastic pairing, imagine it alongside a creamy avocado broccoli pasta. Or, serve it with a scoop of this flavorful street corn salad for a true fiesta of flavors.
Common Aioli Sauce Mistakes (So You Don’t Make Them)
Even the simplest recipes have pitfalls. Let’s walk through the common “why is my aioli…” questions so you can avoid them and celebrate a perfect sauce every time. I’ve made these mistakes so you don’t have to.
The number one issue is a broken emulsion. This happens if you add the oil too quickly. Always start with just a few drops while whisking vigorously. Why is my aioli too bitter? This can come from using a low-quality or overly robust olive oil. A lighter extra virgin or a blend with a neutral oil can help. How do I prevent astringent garlic flavor? Mincing your garlic finely is crucial. A garlic press can sometimes create a harsh taste. For more sauce mastery, see the common fixes in my Thai peanut chicken recipe. You can also find great general troubleshooting tips for emulsions from trusted culinary resources like Serious Eats. Remember, even a broken sauce can be saved. Whisk it slowly into a new egg yolk to rebuild it. For a sweet treat after your savory success, try my raspberry chocolate truffles.
How to Store Your Homemade Aioli
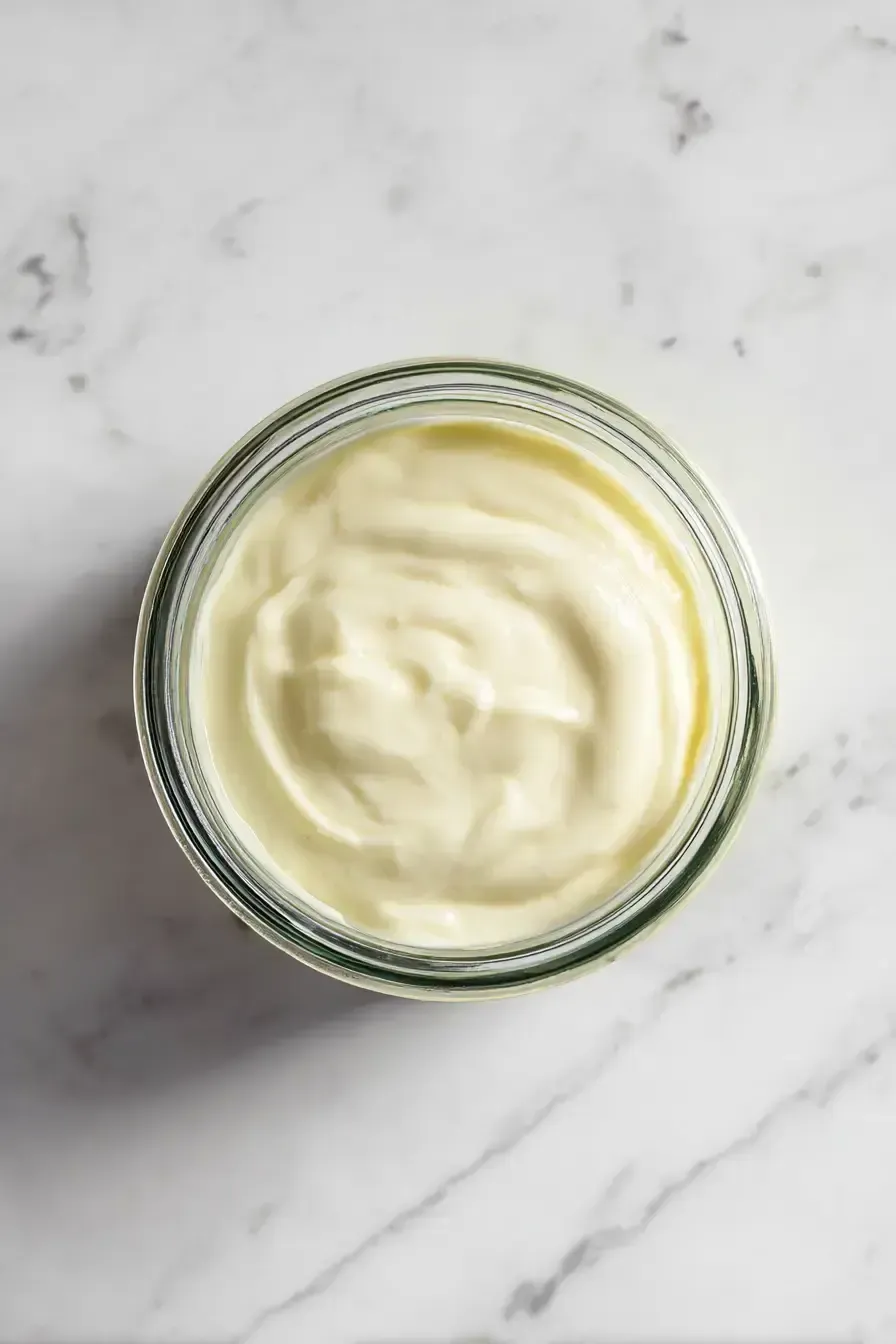
Proper storage is the final step in your strategic kitchen victory. I always make a double batch because having this sauce on hand makes weekday meals a breeze. Transfer your finished creamy aioli sauce to a clean, airtight jar or container. Press a piece of plastic wrap directly onto the surface before sealing the lid. This helps prevent oxidation and keeps it fresher longer.
Store it in the refrigerator, where it will keep beautifully for up to 3 days. The garlic flavor will mellow and deepen over time, which many people prefer. This aioli does not freeze well, as the emulsion will likely separate upon thawing. It’s best enjoyed fresh. For another make-ahead recipe that stores wonderfully, check out my slice-and-bake cookie dough.
Why You Should Try This Aioli Sauce Recipe
This recipe is more than just a condiment. It’s a lesson in kitchen confidence and efficient cooking. Mastering a simple emulsion like this classic aioli sauce opens the door to so many other culinary creations. You’ll wonder why you ever bought the jarred stuff.
The process is satisfying, the cleanup is minimal, and the payoff is huge. Imagine the compliments when you serve this with your next dinner. So grab that one bowl and your whisk. Let’s make something delicious together. I promise, once you taste the difference of a true homemade Aioli Sauce, you’ll be hooked.
If you’re looking for more one-bowl wonders, you’ll love my cozy dirty chai latte for a drink, or these fun Oreo pops for a dessert. For a full brunch spread, browse these festive brunch ideas.
Frequently Asked Questions
What is aioli sauce made of?
A classic aioli sauce is an emulsion made primarily from garlic, egg yolks, lemon juice, and olive oil. This traditional recipe creates a rich, creamy condiment that is far superior to store-bought versions. It’s the foundation for a perfect homemade aioli.
What’s the difference between aioli and mayo?
The main difference is that aioli is traditionally garlic-based and often uses only olive oil, while mayonnaise is more neutral, using vegetable oils. A true aioli sauce gets its distinctive flavor from a generous amount of fresh garlic, making it a bolder, more aromatic condiment.
How long does homemade aioli last?
Your homemade aioli will stay fresh in an airtight container in the refrigerator for up to 3 days. Because it contains raw egg yolks, it’s important to keep it chilled and consume it within this timeframe for the best quality and safety.
Can I make aioli without eggs?
Yes, you can make a version without eggs. A common method is to start with a base of vegan mayonnaise and whisk in fresh garlic, lemon juice, and seasonings. While not a traditional emulsion, it creates a delicious and easy garlic sauce quickly.